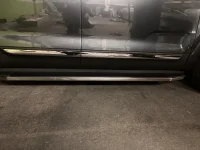
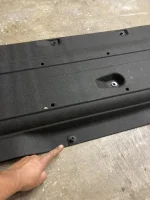
Hi all, looking for help installing running boards, but I think I might be out of luck. I have a 2021 NFE so wanted black sidesteps to help our little ones get in the SUV, not the chrome ones Kia installs. After reading that there were no body changes from 2020 to 2021, I ordered Black Horse Peerless black steps which were listed for 2020 tellurides. Ran into an immediate issue with the first bracket I tried to install.
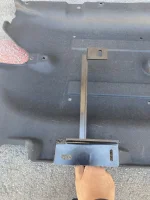
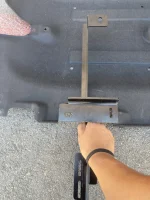
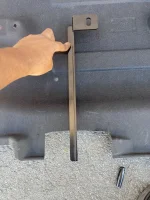
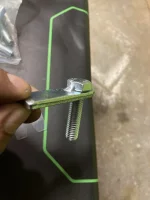
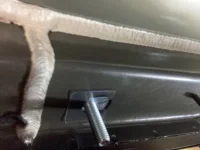
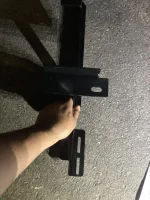
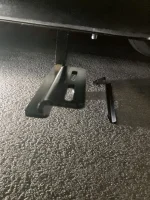
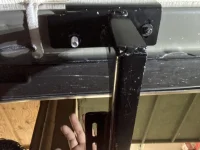
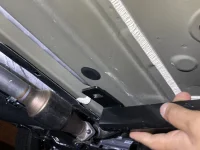
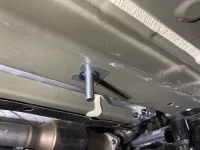
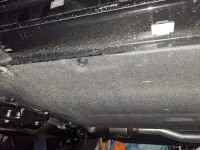
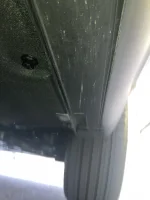
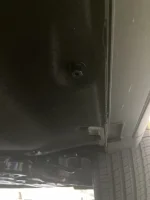
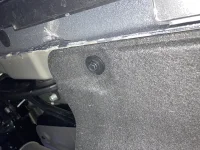
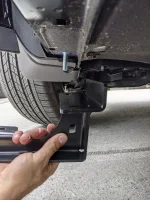
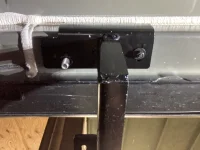
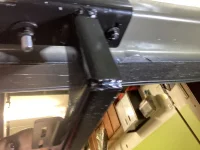
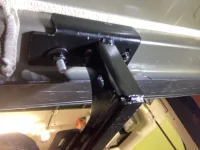
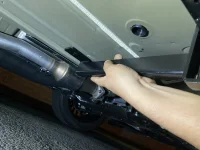
In the photo I’m attaching the problem is the vertical part on the top of the bracket. There’s no where for it to go. The photo in the installation guide shows a contour to the underside of the vehicle, which does not match mine.
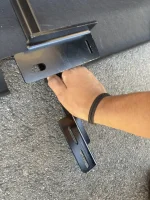
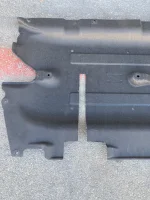
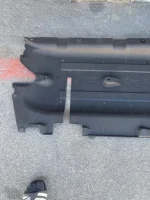
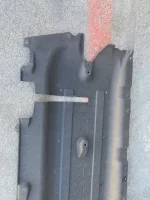
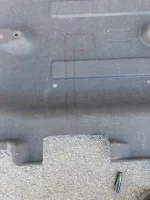
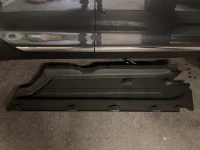
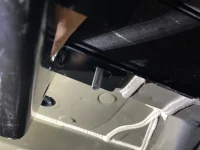
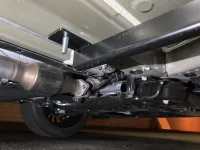
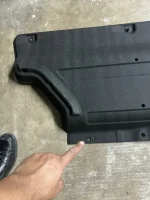
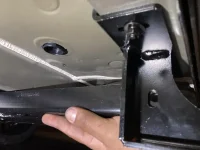
I‘m thinking it’s just plain not going to work, but was hoping to find someone who had installed these before. To make matters worse, in removing the plastic cover along the bottom of the vehicle I broke several of the plastic attachments, so if I just ditch the side rail idea all together I may have to buy a new bottom molding piece.
Any help is appreciated.
In the photo I’m attaching the problem is the vertical part on the top of the bracket. There’s no where for it to go. The photo in the installation guide shows a contour to the underside of the vehicle, which does not match mine.
I‘m thinking it’s just plain not going to work, but was hoping to find someone who had installed these before. To make matters worse, in removing the plastic cover along the bottom of the vehicle I broke several of the plastic attachments, so if I just ditch the side rail idea all together I may have to buy a new bottom molding piece.
Any help is appreciated.

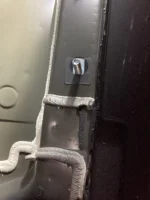

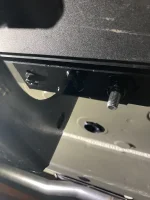
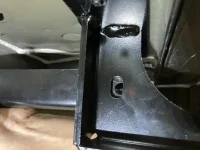

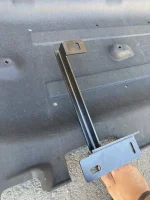
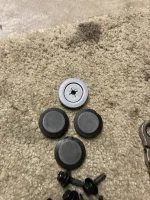
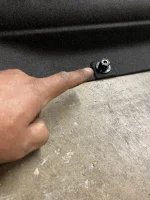
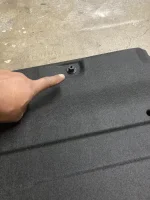
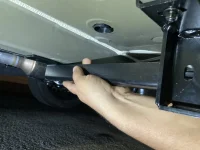
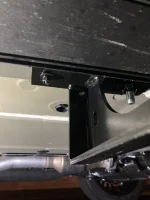
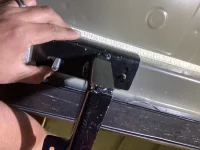
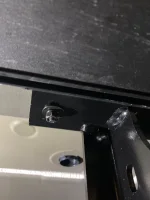
 You also have to remove some caps that’s where the bolts go so you can mount and tighten down the brackets. Those caps are accessible only after you remove the bottom piece.
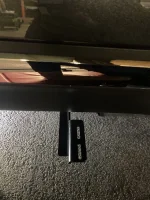

 . I obviously have bitten off a project that's a bit out of my league